

This is a basic tutorial on how I created a model horse saddle
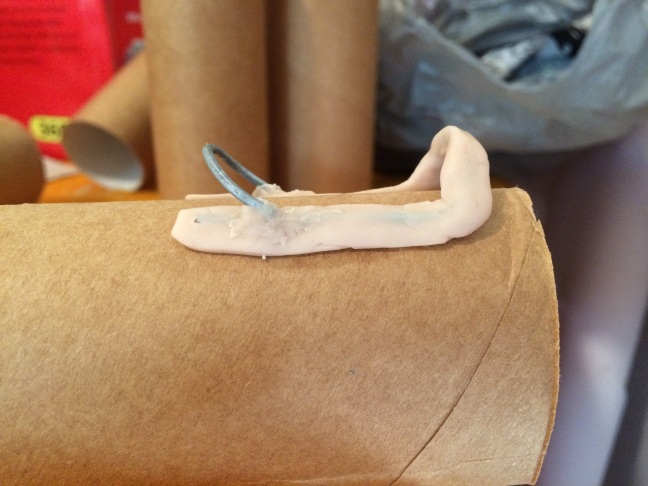
First I began by making a wire half circle to create the pommel, measuring against an actual model to a size that looked right, then I bent the leftover ends of wire horizontally away from the loop, both in the same direction to create the bars (the parts in the above picture covered in super sculpey bakeable clay), cutting wires to a length that looked, right it is best to have reference from a real saddle tree to look at, google images has plenty. Then I roughly covered the area you can see above in super sculpey, bakeable clay. I then added another wire loop to create the seat back pressing it into the clay at about a 45° angle and adding a little extra clay to make sure it held.
Now is where a refernce photo really comes in handy, basically you want to fill in/copy all the areas just like the real saddle tree and add a saddle horn, the size and shape of the horn will depend on wether, you are making a barrel racing, roping or working saddle (mine is based on Greame Savill working saddle built on a Warren Wright saddle tree). It is important to make sure both sides are matching.
I next rolled out some clay, nice and thin and built in the base of the seat, usually this would be made out of metal but being a model I used clay to substitute, the front part nearest the pommel should have a nice arch to it to fit over the wither of your horse and flatten out towards the back of the seat but not be completely flat. Bake the clay, or if using epoxy clay leave to fully harden (epoxy sculptable clay would probably be a better option).
